
Setting Up a Staging Instance for Your WordPress Website: 3 Ways Compared
You want to safely update your WordPress website without risking the live site? Then a staging instance is the ideal solution. Whether you want to test a new plugin, try out a fresh design, or implement important updates – in the staging instance, you can make and review changes in a protected environment before they go live.
In this post, we will show you three simple methods to set up staging for your WordPress website. We will look at hosting solutions, the plugin UpdraftPlus, and local tools like Local by Flywheel.
What is a Staging Instance and Why Do You Need It?
A staging instance is an exact copy of your website for testing and experimentation. Changes in this environment are invisible to visitors and do not affect the live site. This is particularly useful for larger updates or modifications, as you can identify and fix errors or technical issues in advance.
A staging instance allows you to:
- Check plugins or themes for compatibility before activating them.
- Test changes to code or design without affecting the live site.
- Ensure your website functions smoothly after an update.
- Undertake major content or structural overhauls of your website.
This way, you avoid stress and protect the user experience of your visitors. Especially for business-critical websites, a staging instance is indispensable to ensure smooth operations.
3 Ways to Set Up a Staging Instance for WordPress
There are various methods, each with its pros and cons, suitable for different needs. Below, we will show you how to set up staging through your hosting provider, with the UpdraftPlus plugin, or in a local environment like Local by Flywheel.
1. Staging Instance Directly Integrated with a Hosting Provider
One of the easiest ways to set up a staging instance is through the often already integrated staging option of your web host. Many providers offer this beginner-friendly feature. The process is usually straightforward:
- Log in to your hosting account and open the management for your WordPress website.
- Look for the option "Staging" or "Clone". With providers like SiteGround or WP Engine, this feature is usually directly available.
- Clicking on "Create Staging" creates a direct copy of your website on a temporary subdomain.
- You can test changes and later go live with a single click.
Note: Going live with a WordPress website follows the same steps as creating a staging instance. To ensure the live site's flawless function, a structured deployment process is essential. This should include tests and a documented configuration of settings for future deployments.
Advantages:
- Simple and fast
- No additional tools needed
Disadvantages:
- Usually only available with expensive hosting packages
2. Staging with UpdraftPlus and Cloud Storage
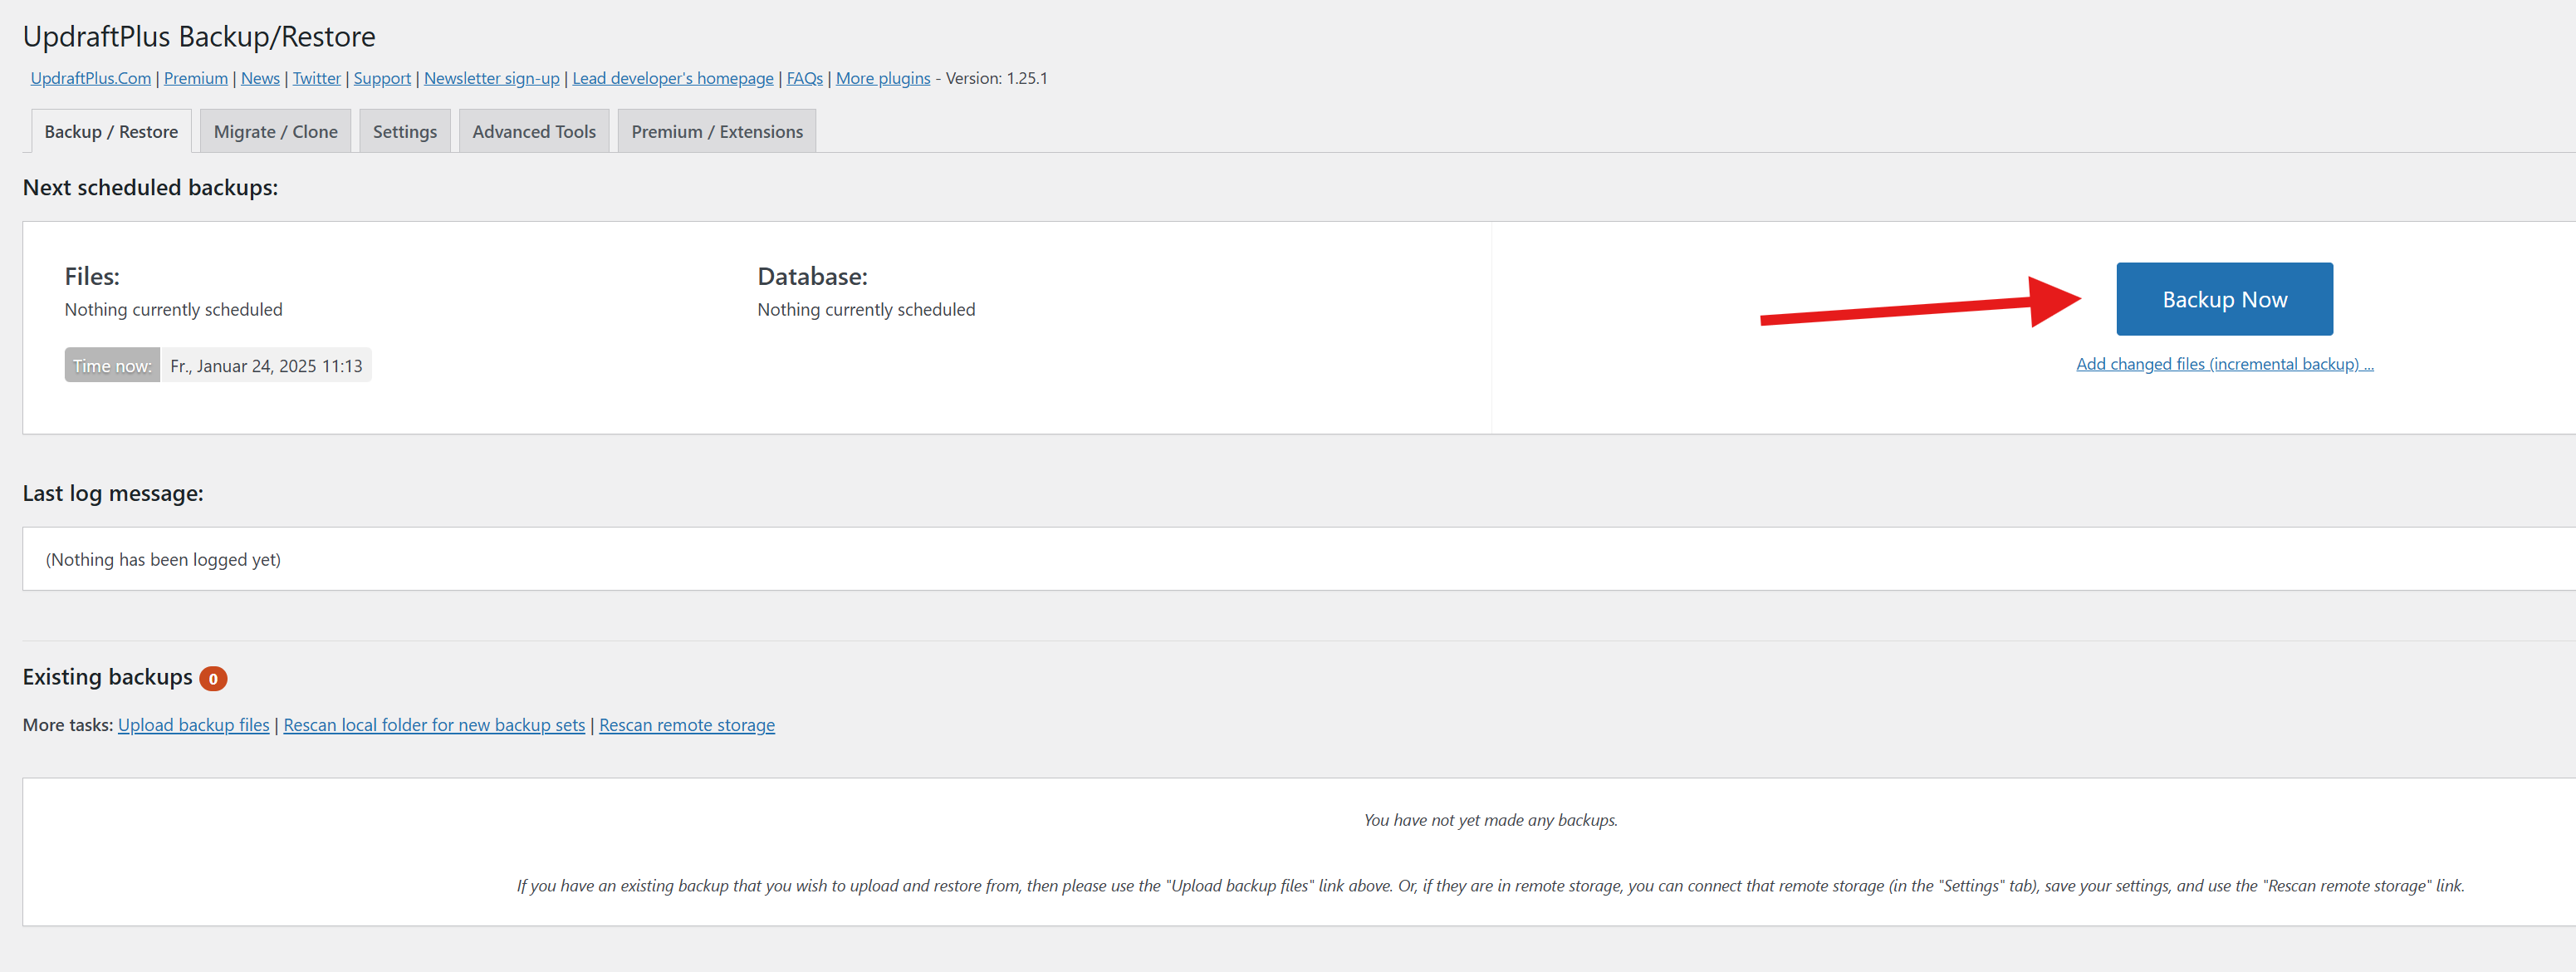
The UpdraftPlus plugin offers another way to set up a staging instance – independent of the hosting provider. UpdraftPlus is one of the most popular backup plugins for WordPress and offers an integrated staging function in the premium version. Here's how it works:
- Install and activate the UpdraftPlus plugin on your website.
- Select the staging function in the settings (available in the premium version).
- Create a backup of your website and upload it to cloud storage like Google Drive or Dropbox.
- Set up an empty WordPress installation (e.g., on a subdomain or in a local environment) and import the backup.
Advantages:
- Flexible: Works even without special hosting options.
- Secure: Your live website remains untouched.
Disadvantages:
- Premium version required.
- Some technical know-how needed.
Your Website Needs More Than Just a CMS – It Needs the Right Strategy!
A content management system is the foundation, but only with thoughtful development, scalability, and performance optimization will your website truly succeed. We support you with tailored CMS solutions – from WordPress and TYPO3 to headless systems.
➡ Schedule a free initial consultation now
➡ Learn more about our CMS solutions
3. Local Staging with Tools like Local by Flywheel and UpdraftPlus
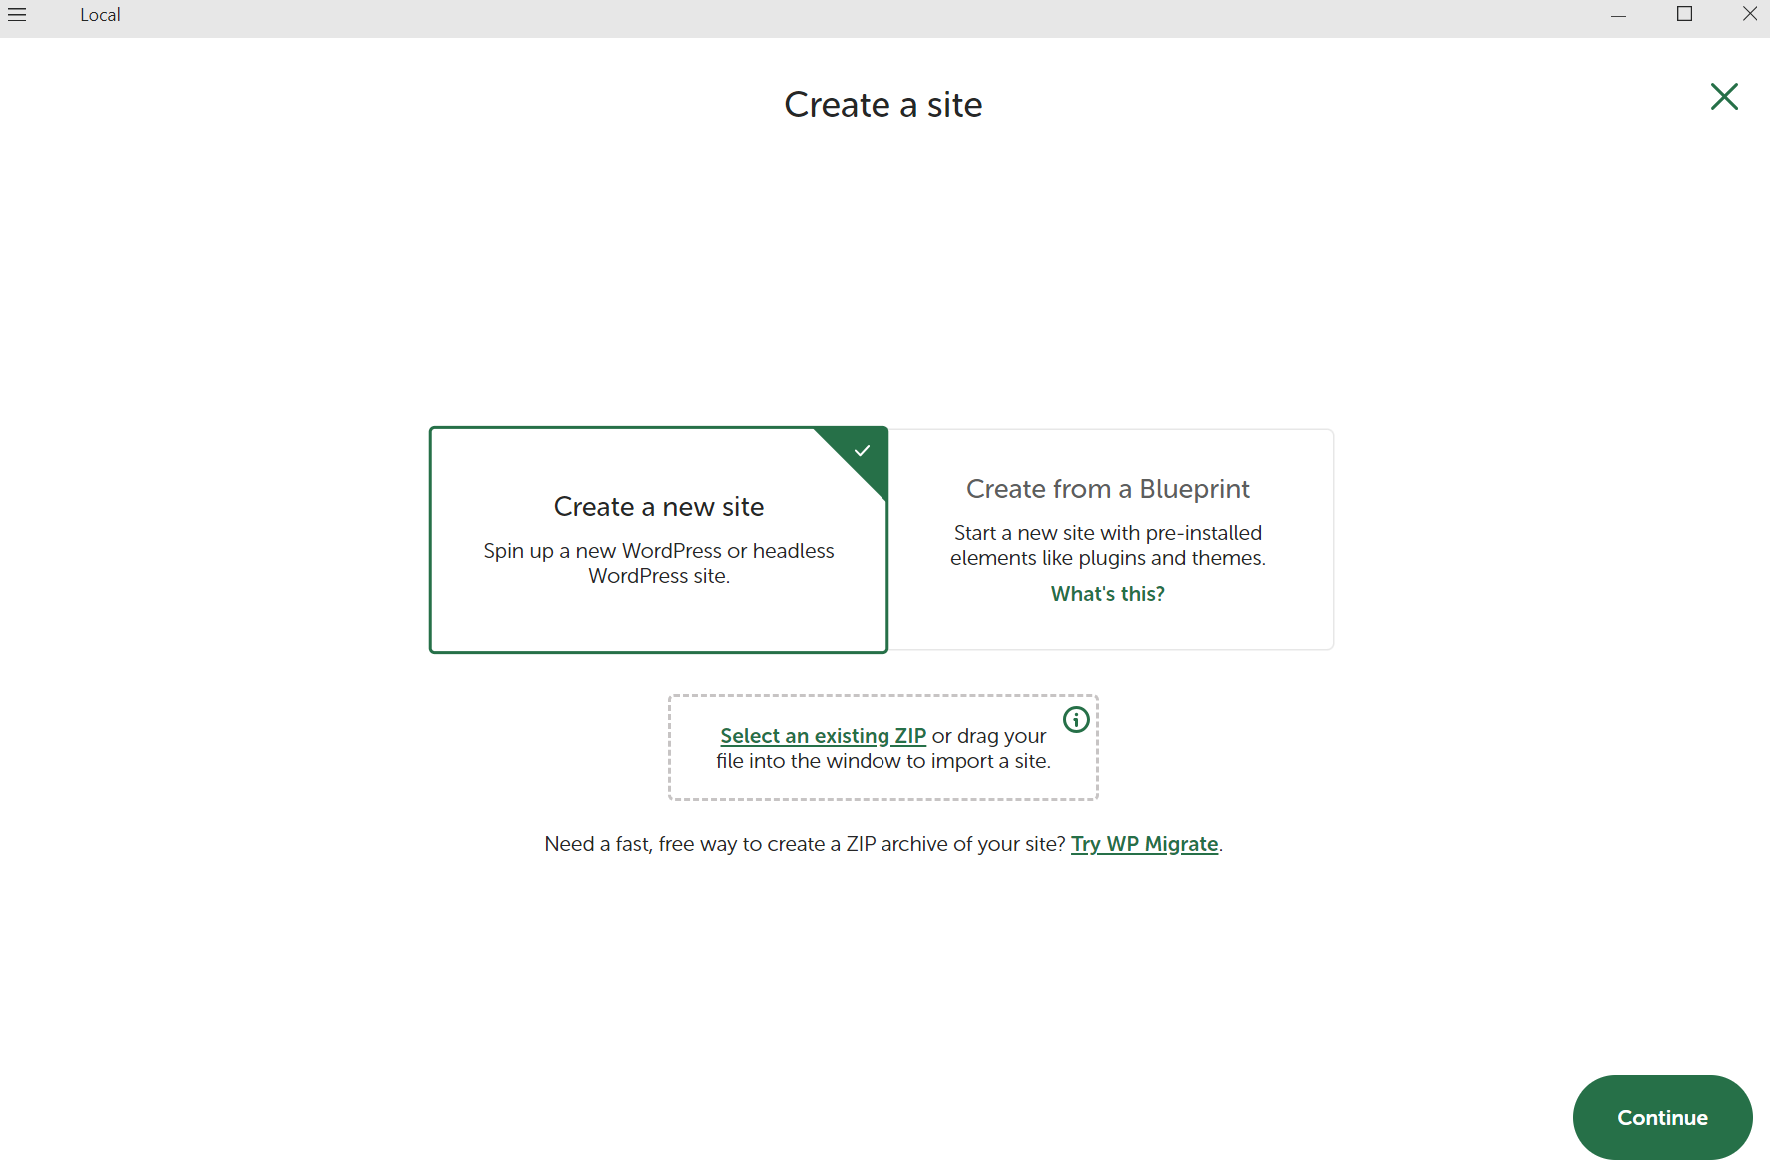
If you want to test changes locally on your computer, a setup with Local by Flywheel is an excellent option. In combination with the free backup plugin UpdraftPlus, you can clone and edit your existing website locally. Here's how to proceed:
-
Create a Backup: Install the free UpdraftPlus plugin on your WordPress website. Create a full backup of your website and download it. This includes the database, plugins, themes, and media files.
-
Set Up Local Instance: Download and install Local by Flywheel on your computer. Then create a new, empty WordPress instance in Local.
-
Import Backup: Install the UpdraftPlus plugin in your local WordPress instance, import the previously created backup, and restore it.
-
Test Changes: Now you have an exact copy of your website running locally. Test all desired changes here without affecting your live site.
Advantages:
- Free: The basic version of UpdraftPlus and Local by Flywheel is sufficient.
- Secure: Your tests remain completely offline.
- Flexible: You have full control over the local instance.
Disadvantages:
- Manual uploading of changes required.
- Some technical know-how needed, especially for complex changes.
Conclusion: Keep Your Live Site Safe with a Staging Instance
Whether you want to test a small plugin or make major changes – a staging instance is the key to avoiding errors and keeping your live site safe. The choice of the right method depends on your requirements and technical know-how. While the integrated staging function of your hosting provider is particularly user-friendly, tools like UpdraftPlus or Local by Flywheel offer more flexibility and control.